Setting Up
While performing audits I've had to occassionally help sysadmins recover access to their workgroup switches. Below are my Cisco switch enable password recovery notes if you ever need to do this or pass along to a local sysadmin. You’ll need a Windows laptop with something like PuTTY and a serial cable for the console connection. Or if you’ve on a Debian based Linux system like Ubuntu I’ve used the Minicom program (sudo apt install minicom). Plug the console cable into the laptop and hopefully drivers automatically load. I’ve found the RJ-45 to USB serial cables to work the best in this regard.
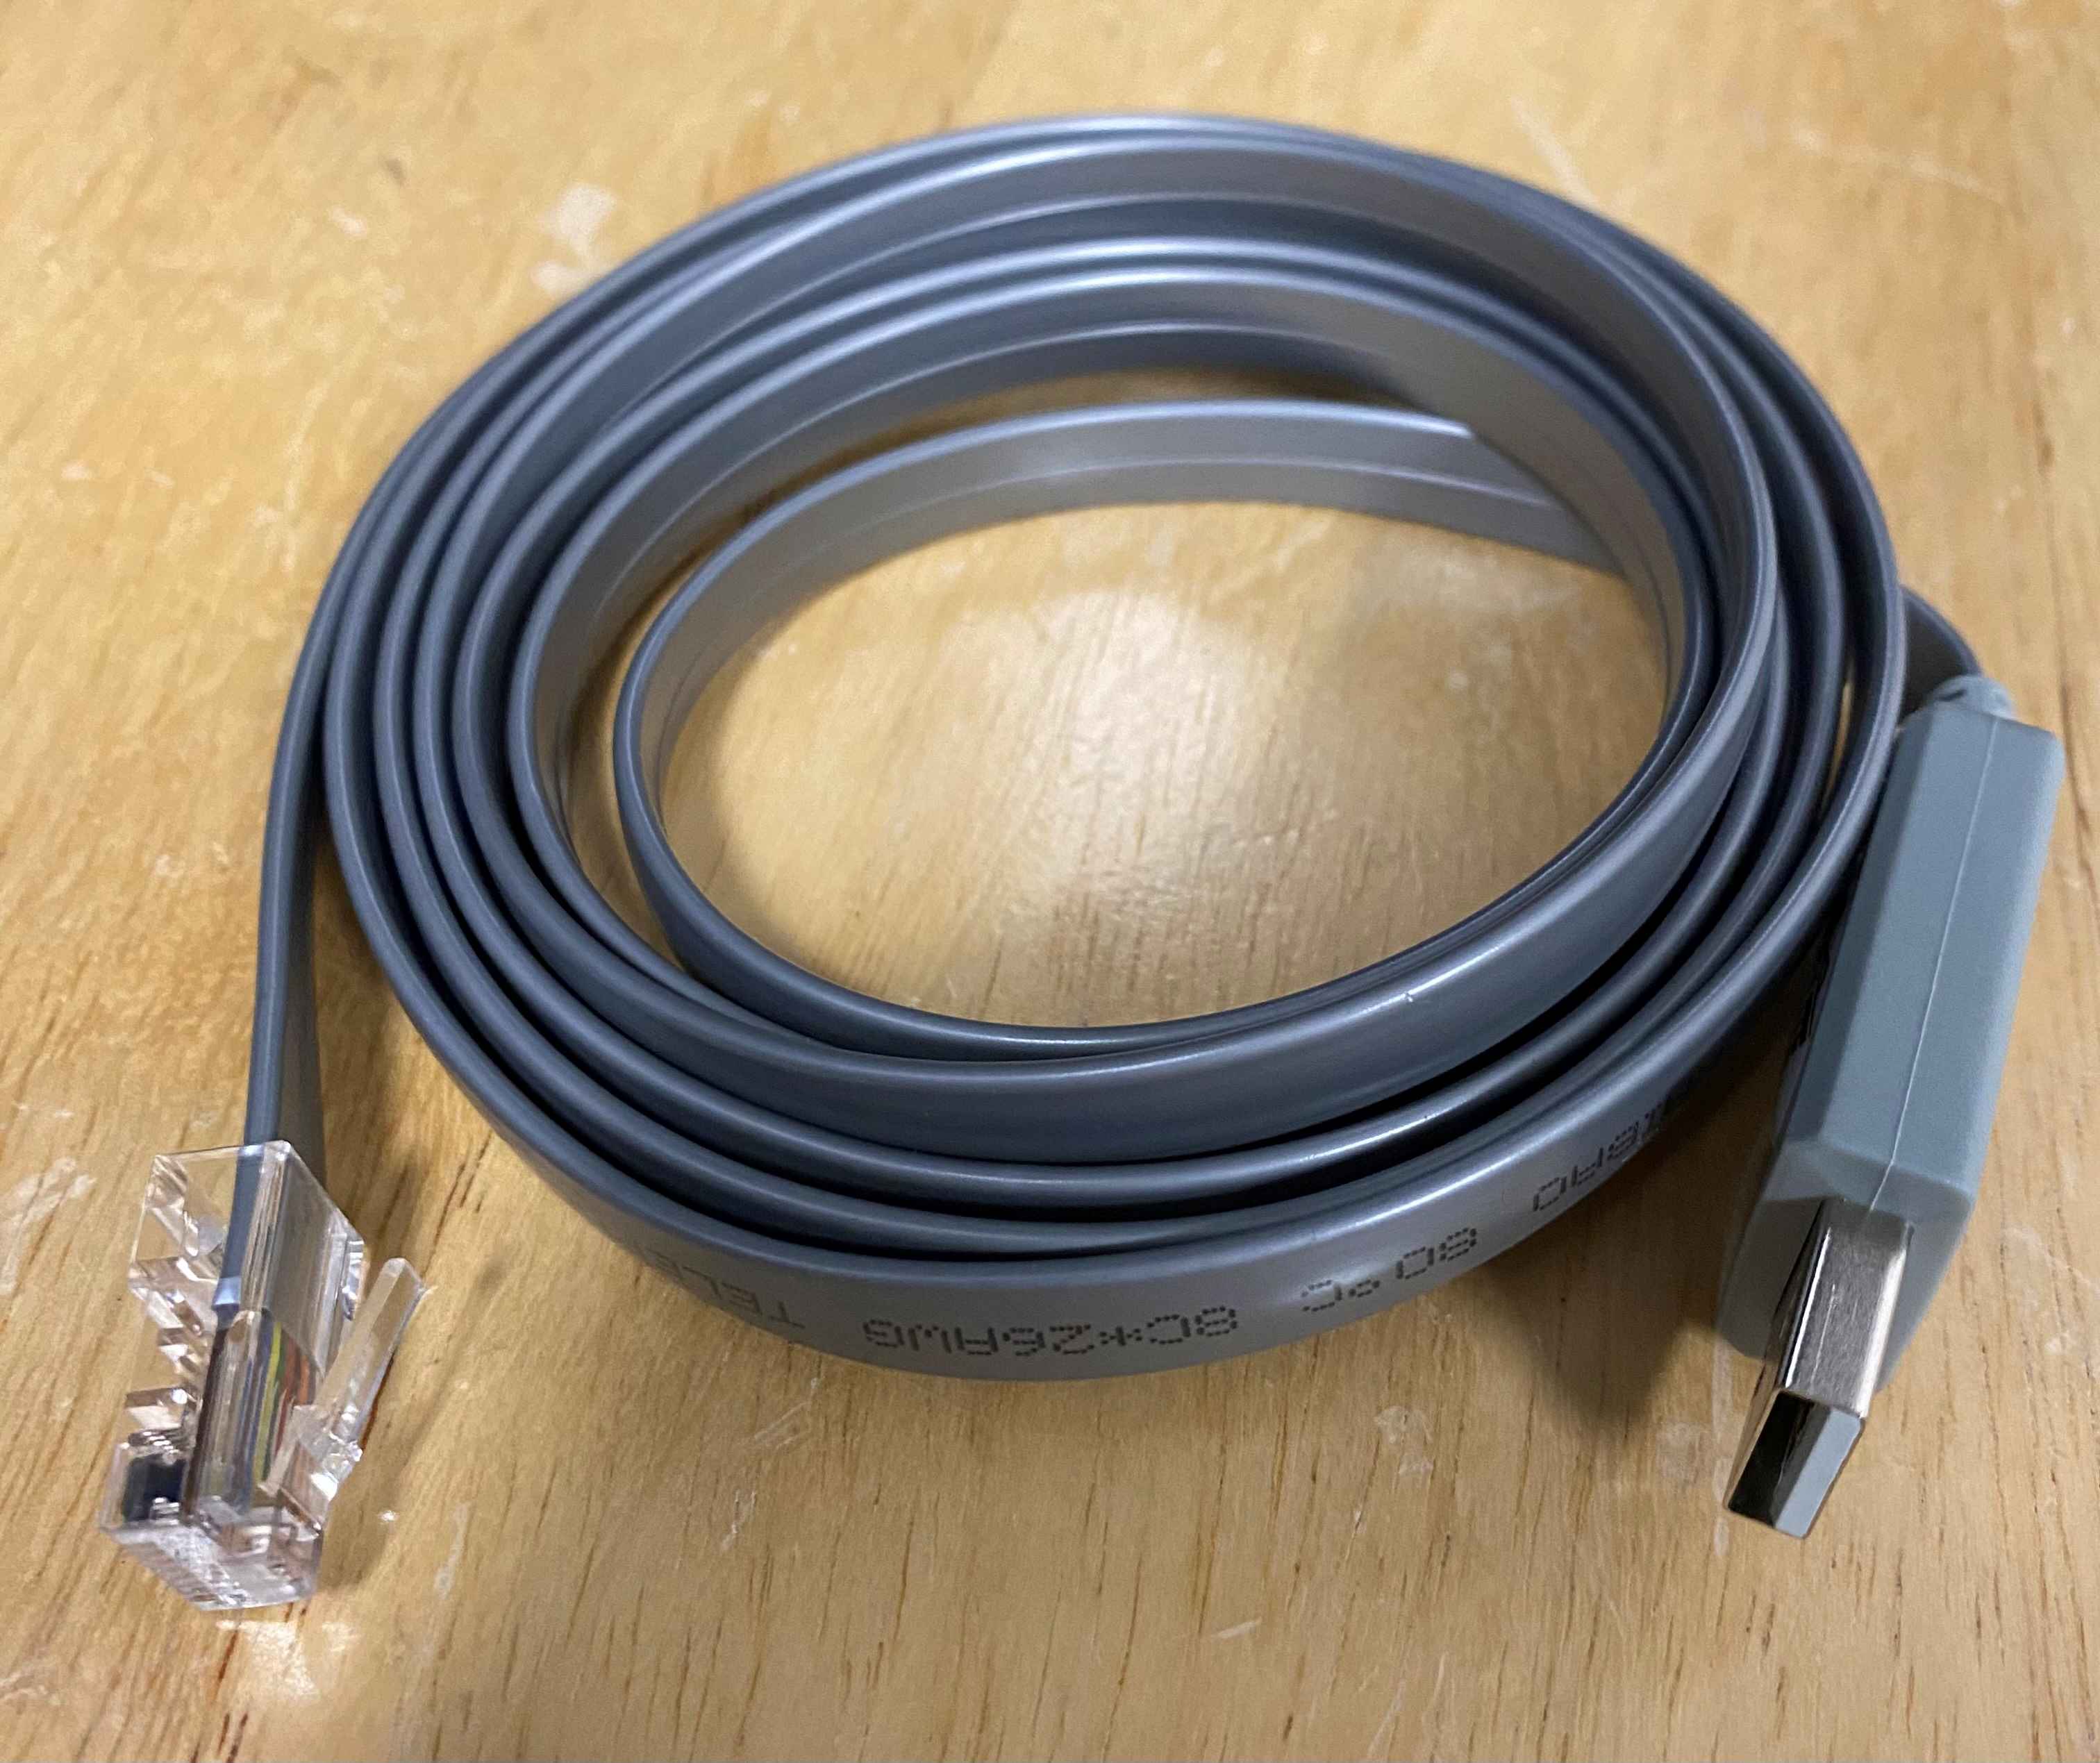 RJ-45 to USB serial console cable.
If you have the RJ-45 to DB9 serial cable and your laptop doesn’t have a DB9 serial port (which it won’t unless it’s old), you need the DB9 to USB adapter and sometimes a driver doesn’t automatically load.
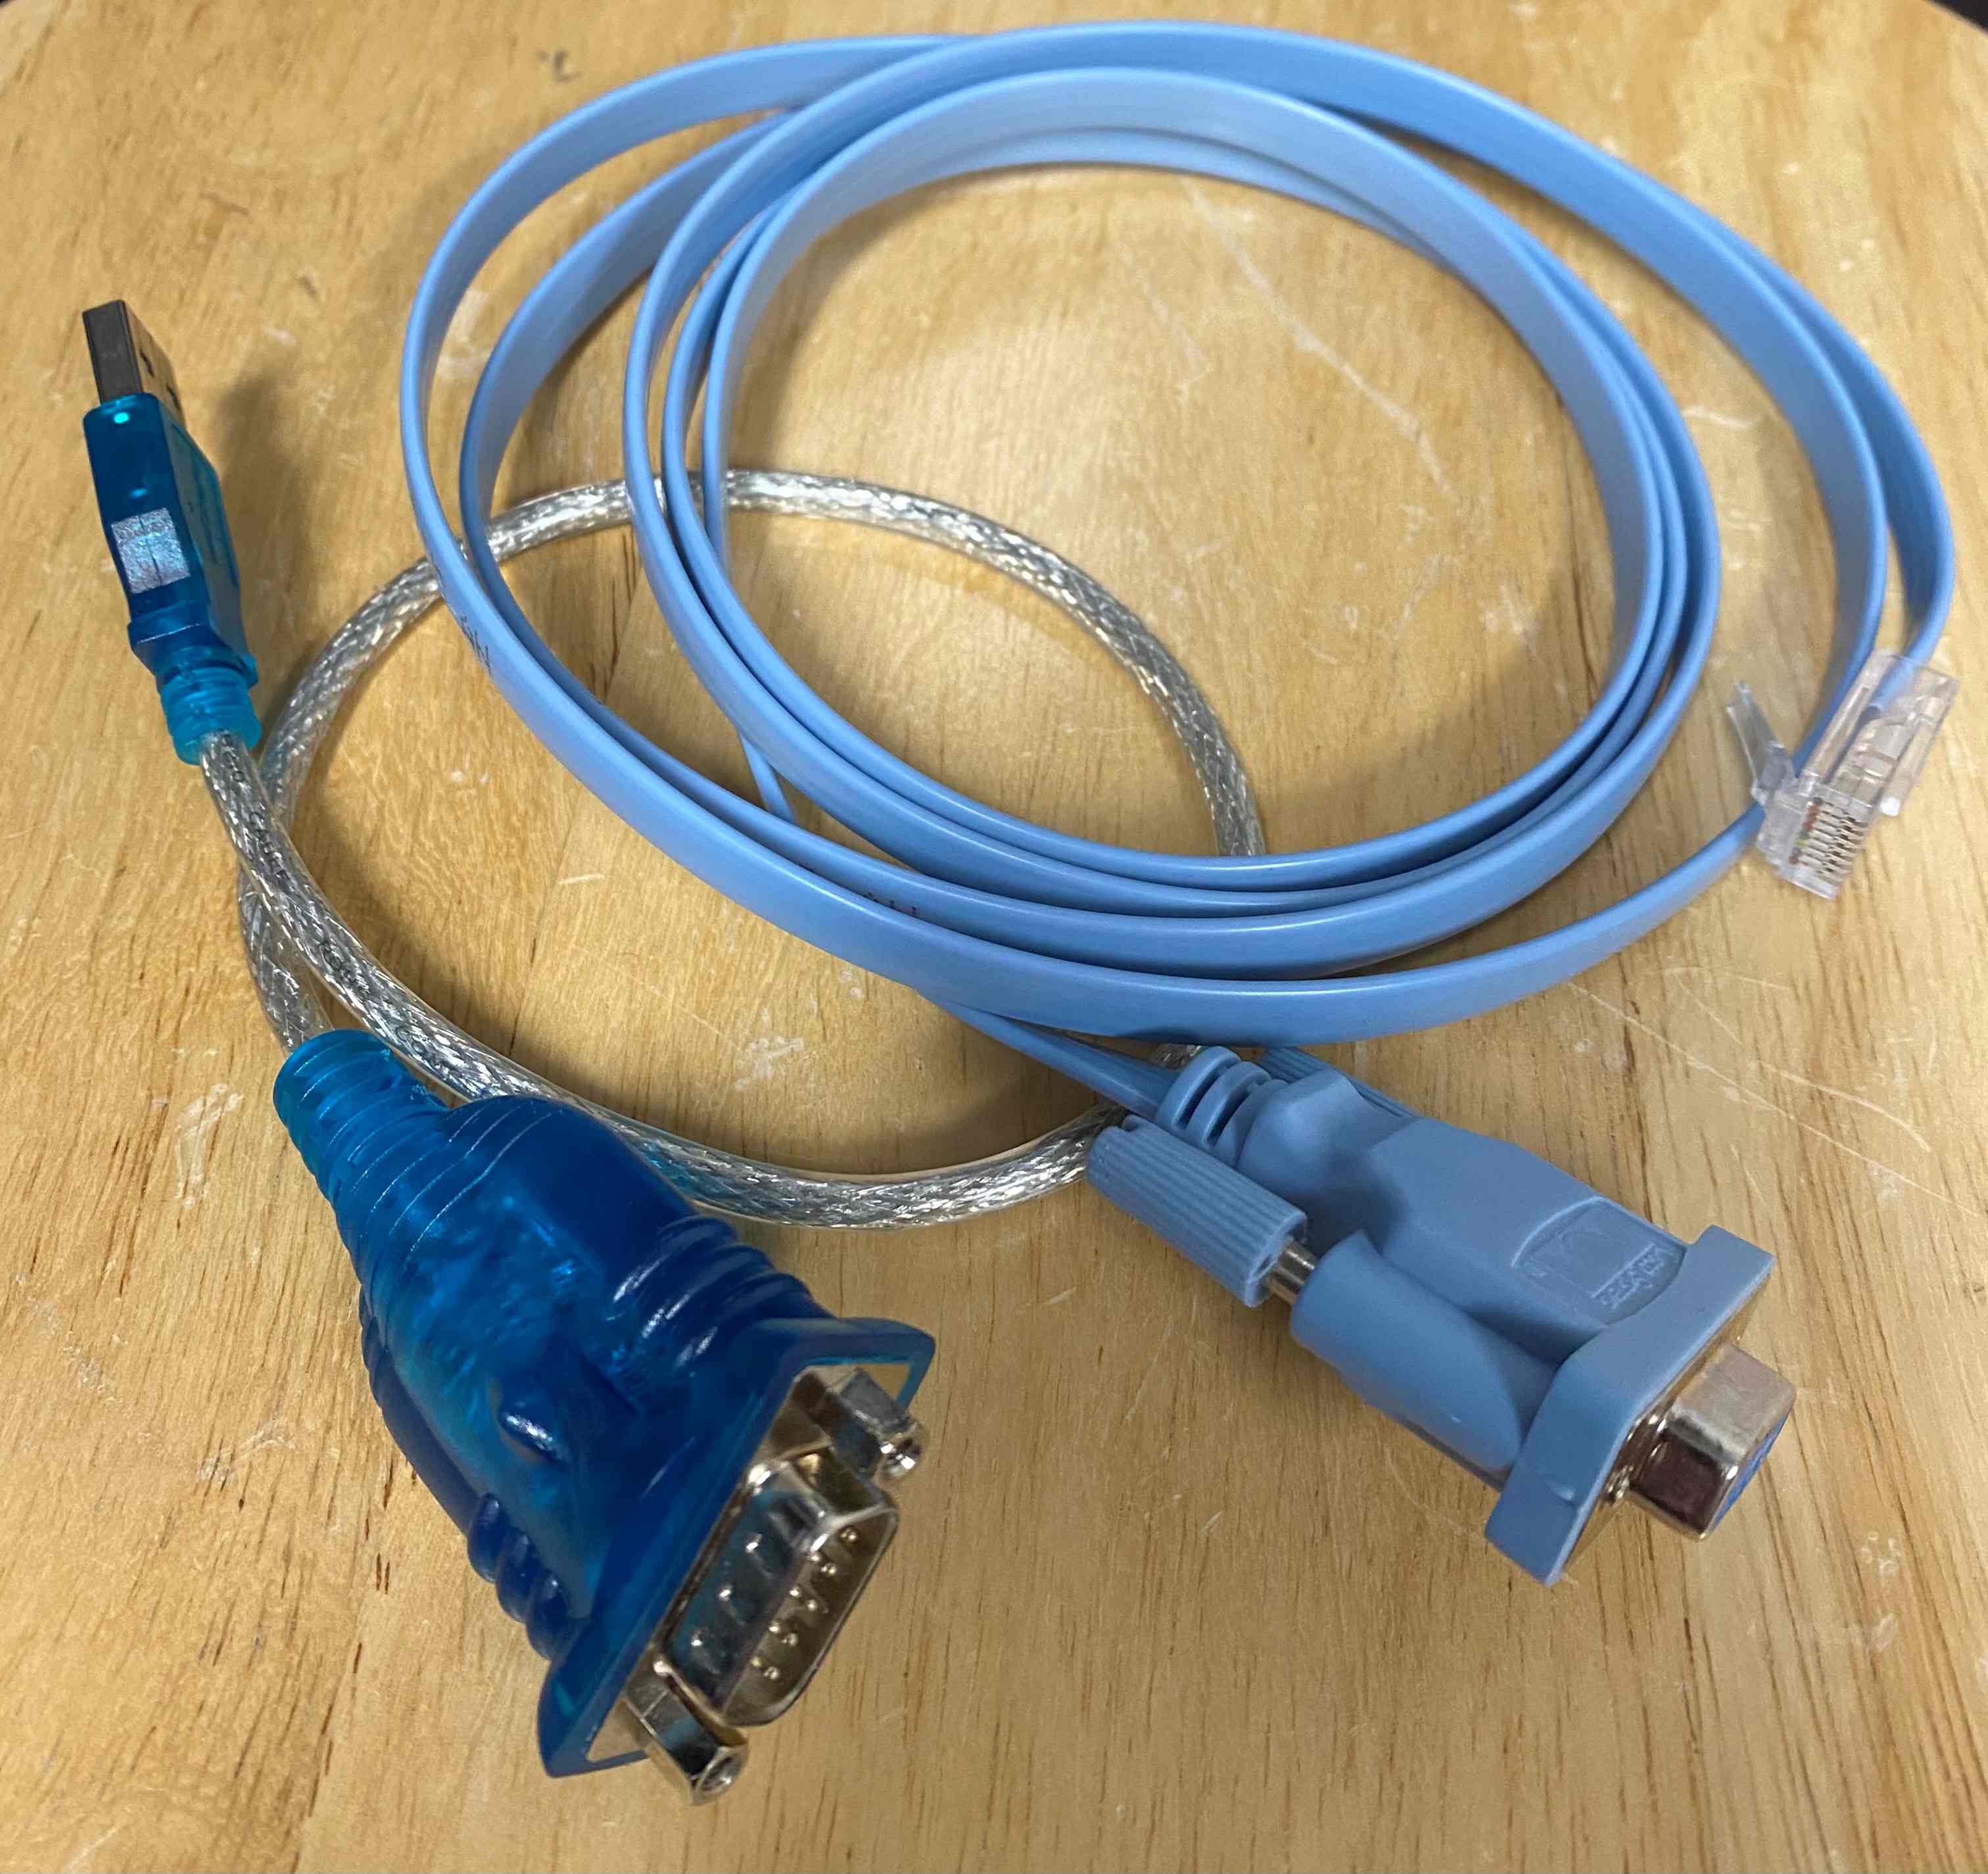 RJ-45 to DB9 serial console cable with the DB9 to USB adapter.
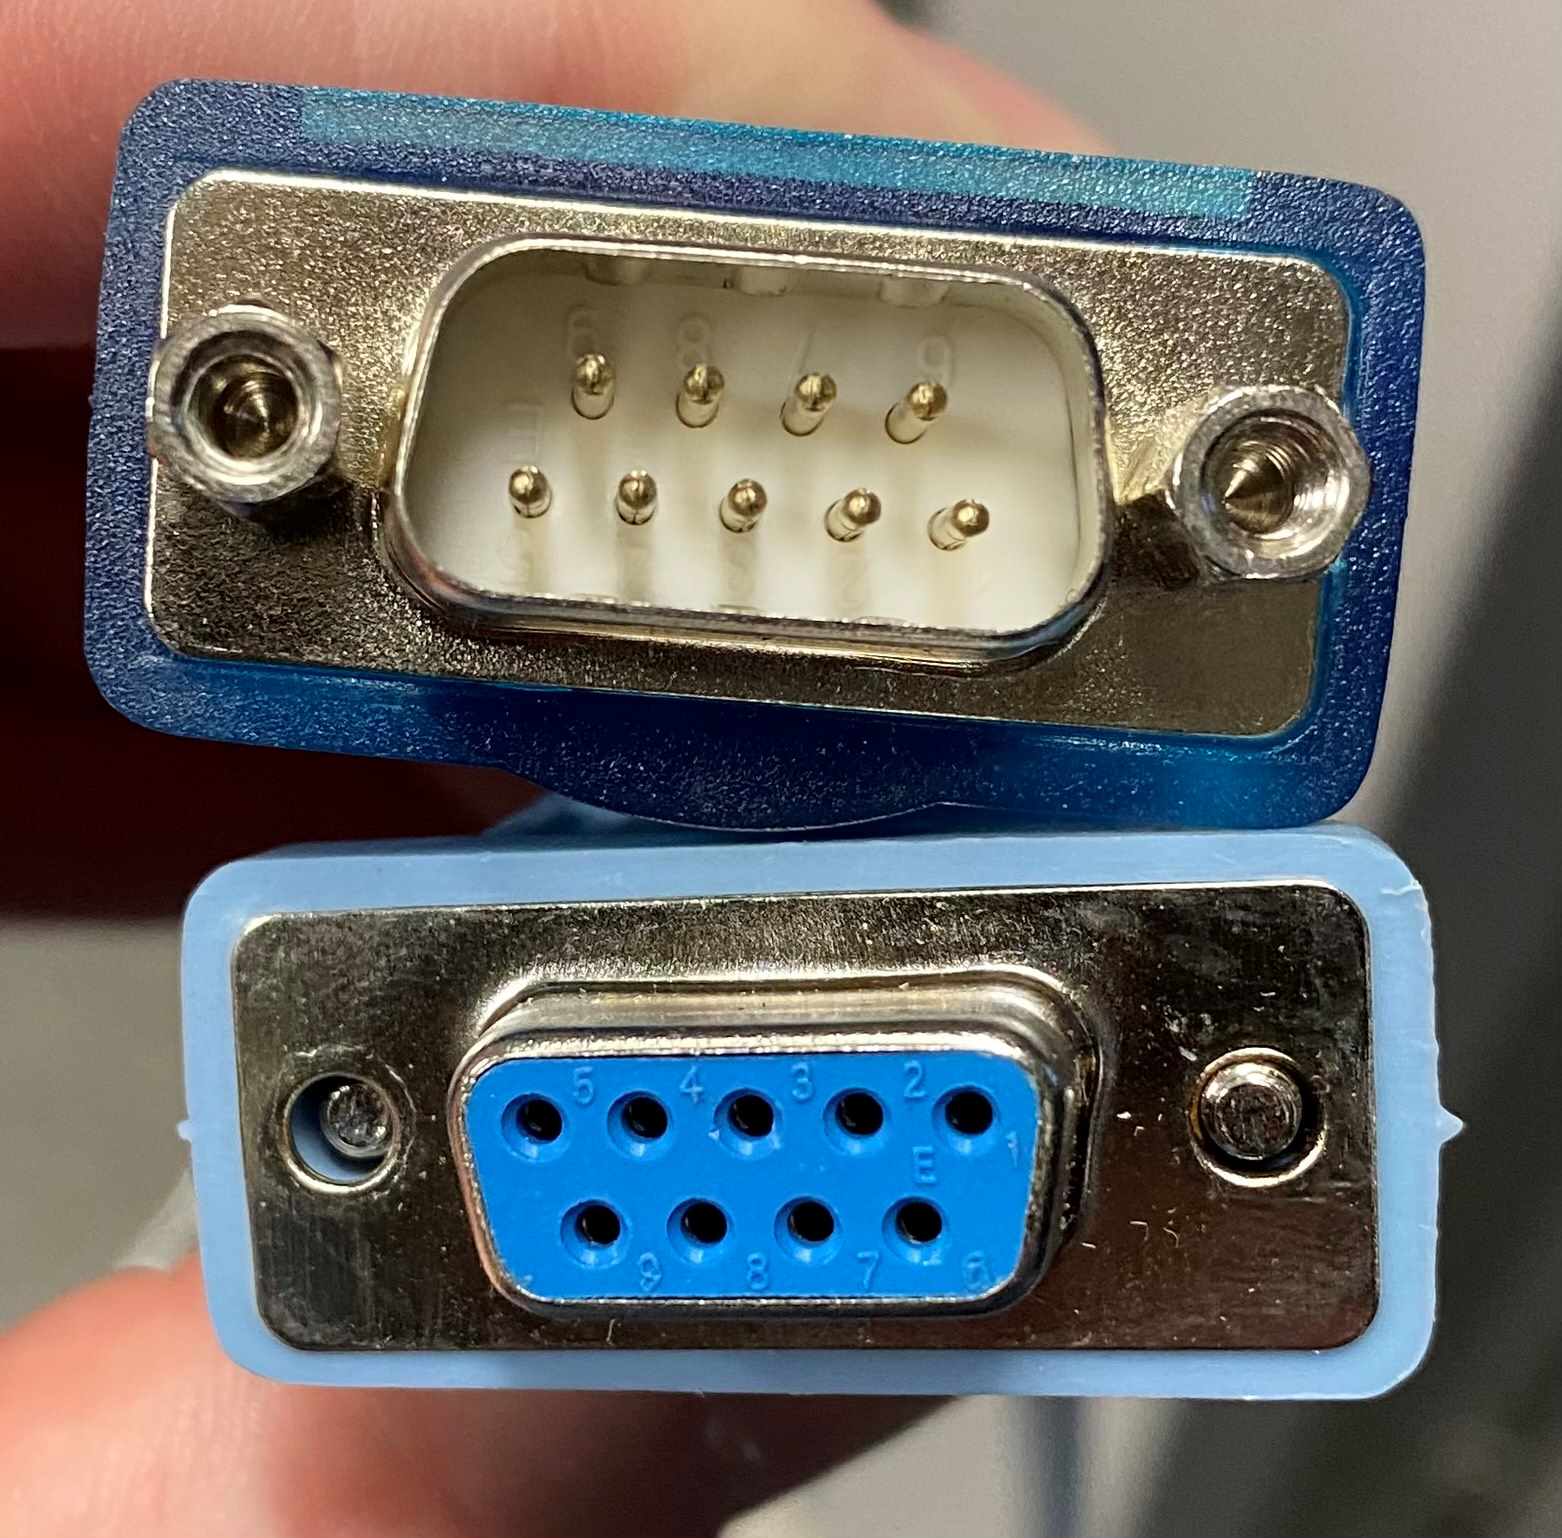 DB9 male/female closeup.
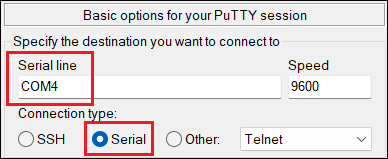
Assuming you do get past this, within Device Manager look at the COM port number assigned to it under the Ports (COM & LPT) devices. The Linux commands dmsg | grep ttyS (or I think lsusb if it’s a USB serial cable) can help you located a recently connected serial device in Linux. The result will be something like /dev/ttyS0.
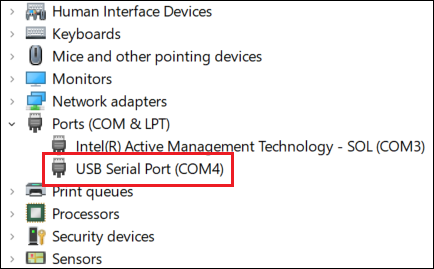
You’ll need that number (e.g. COM4, COM5, etc.) when making your serial connection in PuTTY.
Switch Preparation
Cisco 2960 (and similar)
- Ensure the switch is powered off and the console cable is connected.
- Press and hold the “Mode” button on front and then turn on the power.
- Wait several seconds until the green flashing LED flashes orange once (this may vary); it should enter the
switchprompt on the terminal window.
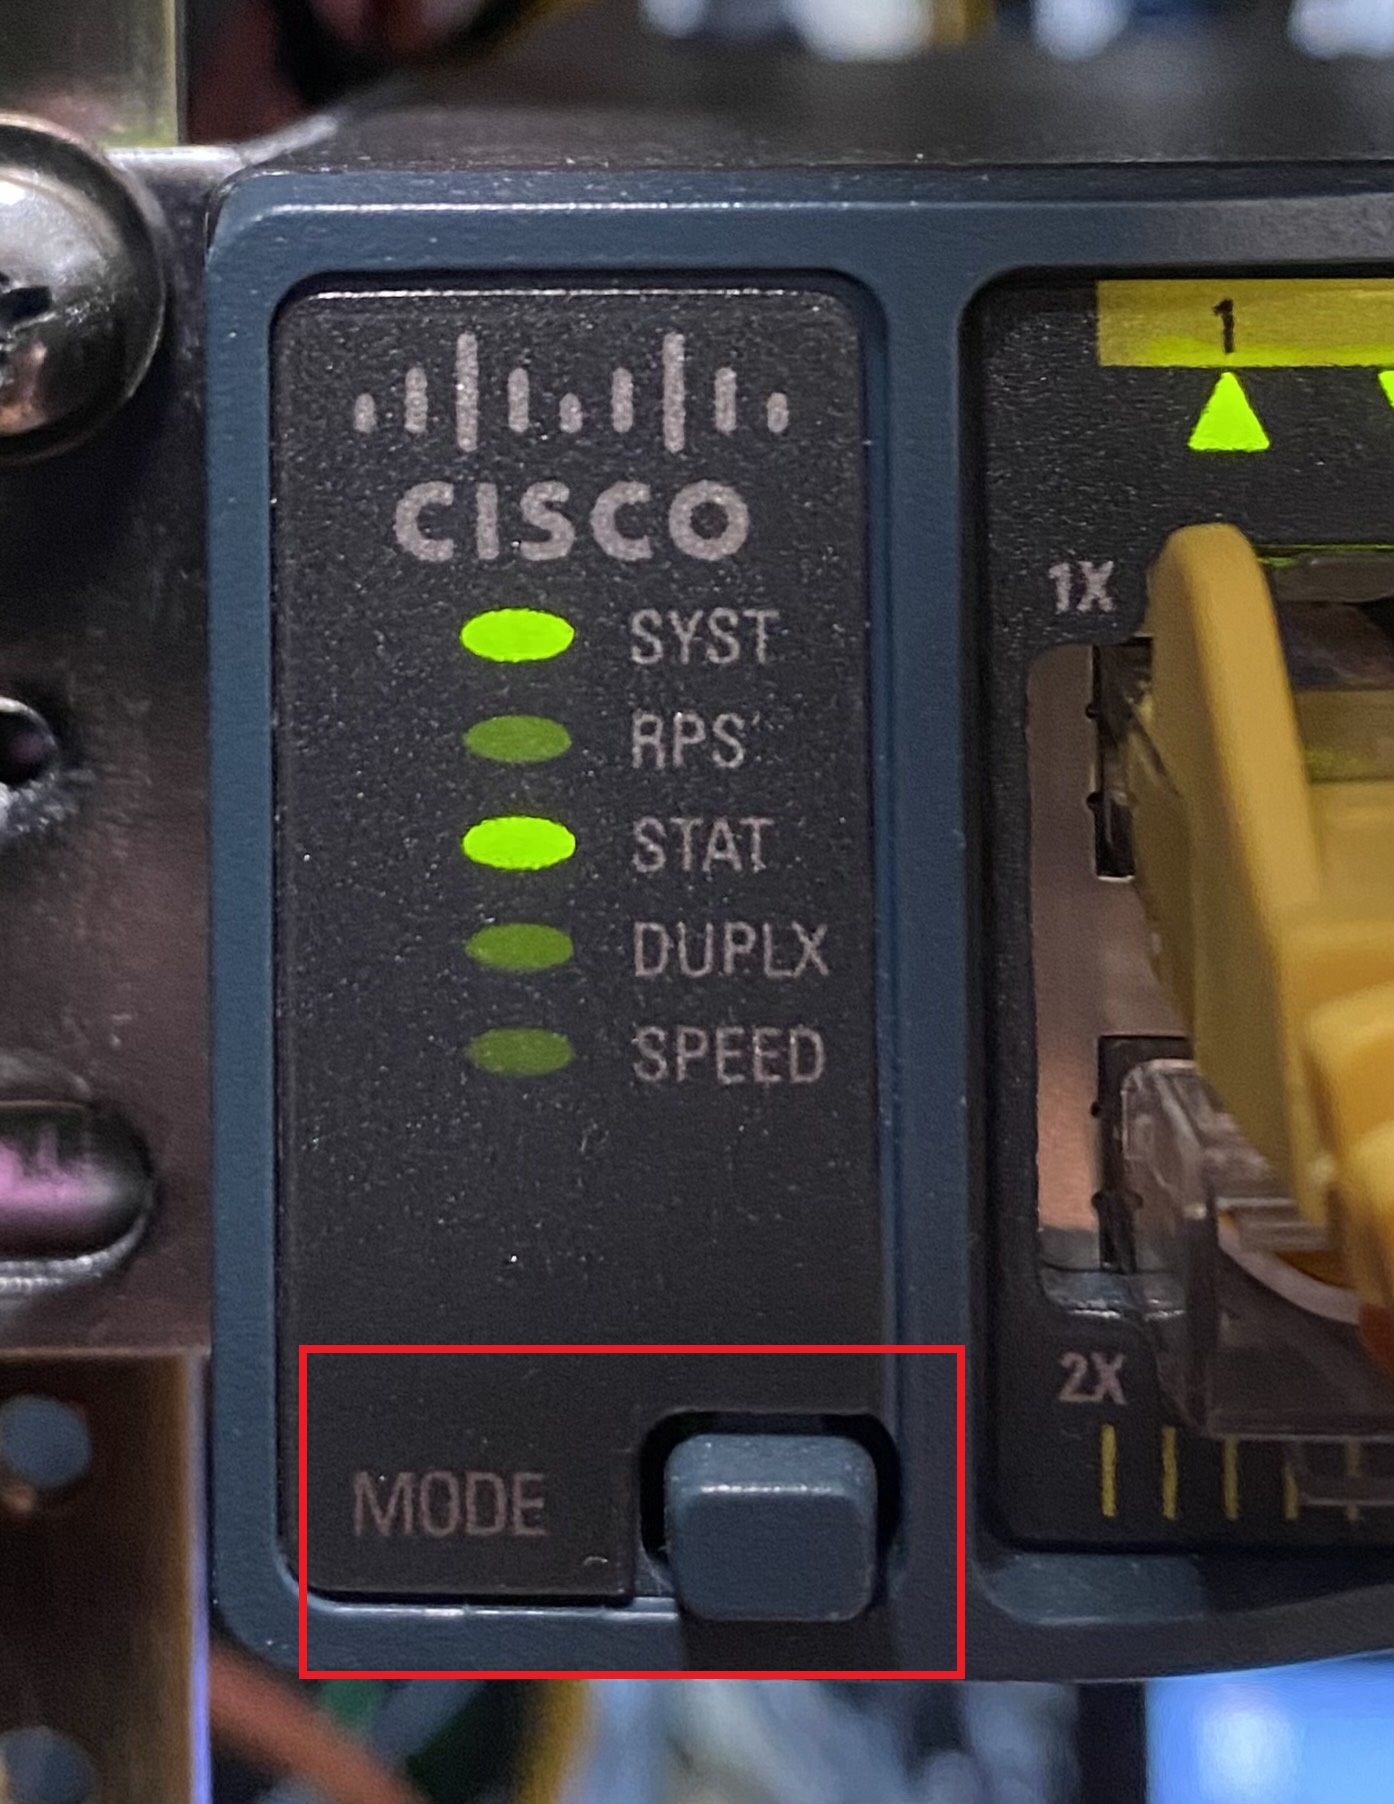 Cisco 2960 switch Mode button.
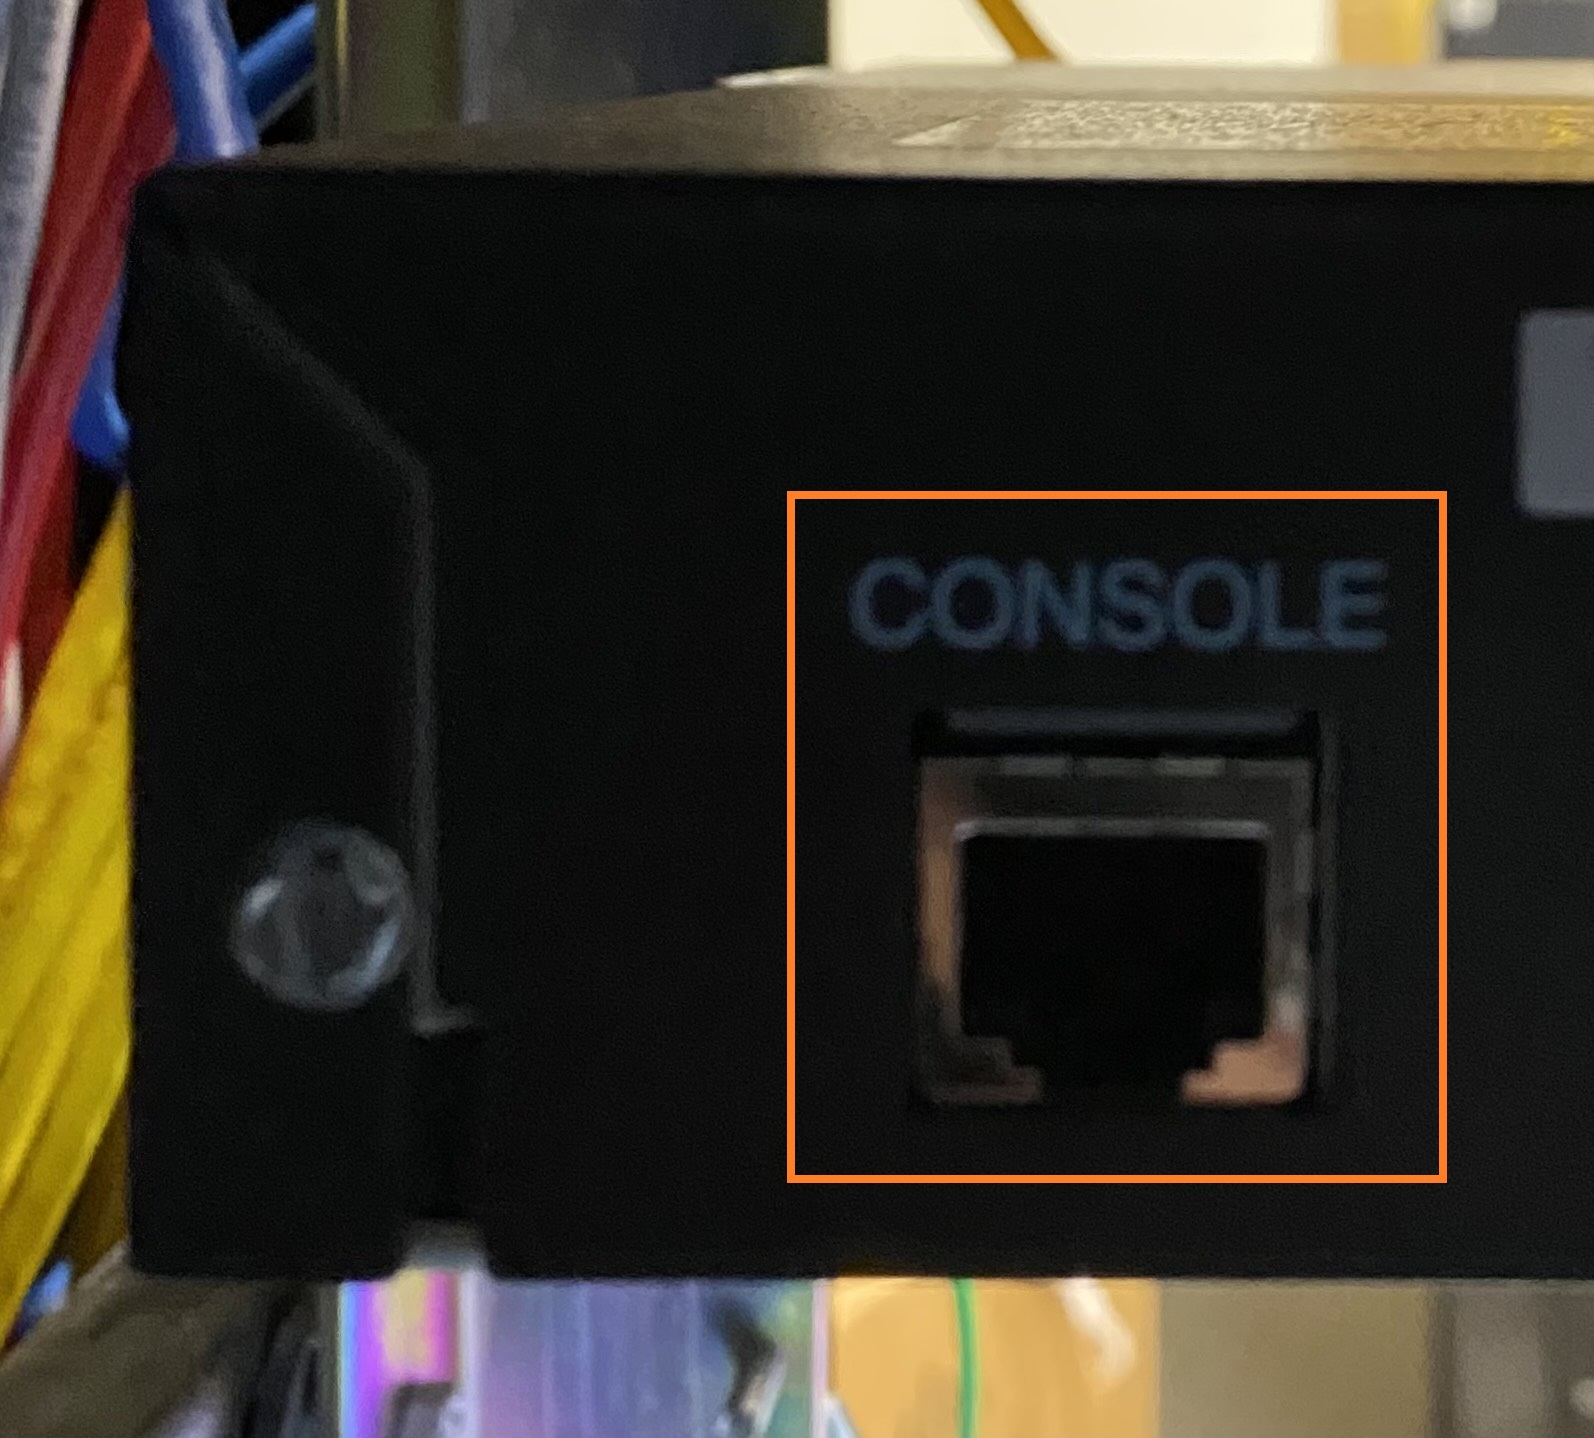 Cisco 2960 RJ-45 console port (on the back).
Cisco 2960-X (and similar)
- Ensure your computer is connected serially to the console port and the switch output is viewable in the terminal window.
- Power off the switch.
- Press and hold the “Mode” button on front then turn on the power.
- Continue to hold the “Mode” button until the text
USB Console INITappears on the terminal window, then release; it should then enter theswitchprompt on the terminal window.
 Cisco 2960-X Mode button and RJ-45 console port.
IOS Reset Procedure
flash_initload_helper- If this command isn’t available, continue without it.
dir flash:rename flash:config.text flash:config.text.old- Saves the current configuration.
boot- The config is “reset” at this point as a new one is generated.
- Would you like to terminate autoinstall:
yes - If there is no prompt for this, continue without it.
- Would you like to enter the initial configuration dialog:
no enablerename flash:config.text.old flash:config.text- Restores the original config.
copy flash:config.text system:running-config- Merges the old config to the running memory.
configure terminalenable [algorithm-type] secret exitcopy running-config startup-config(orwrite memory)
A couple final things to be aware of. If there is a ‘login/password’ or login local command on the CON or VTY lines make sure to remove or change those if they are unknown; otherwise you’ll still be locked out if the local user account information is unknown. Also if aaa new-model is enabled then the login local command is unavailable for the CON and VTY lines and something like login authentication default (or similar) will be needed for non-default AAA authentication groups.